Using Codex CLI to build a web app
OpenAI's terminal-based agent is the best AI coding tool yet
OpenAI’s Codex CLI is so hot right now.
The Claude Code-competing CLI (command line interface) allows users to generate and mange code directly in their terminal using OpenAI’s suite of models. While GPT-5 has had a rocky launch, the Thinking version of it (using “high” level reasoning) is starting to gain some serious popularity. After using it within Codex, I can see why.
ChatGPT Plus and Pro users can sign in with their accounts to use the agent for free, which allowed me to test its limits with building a web app.
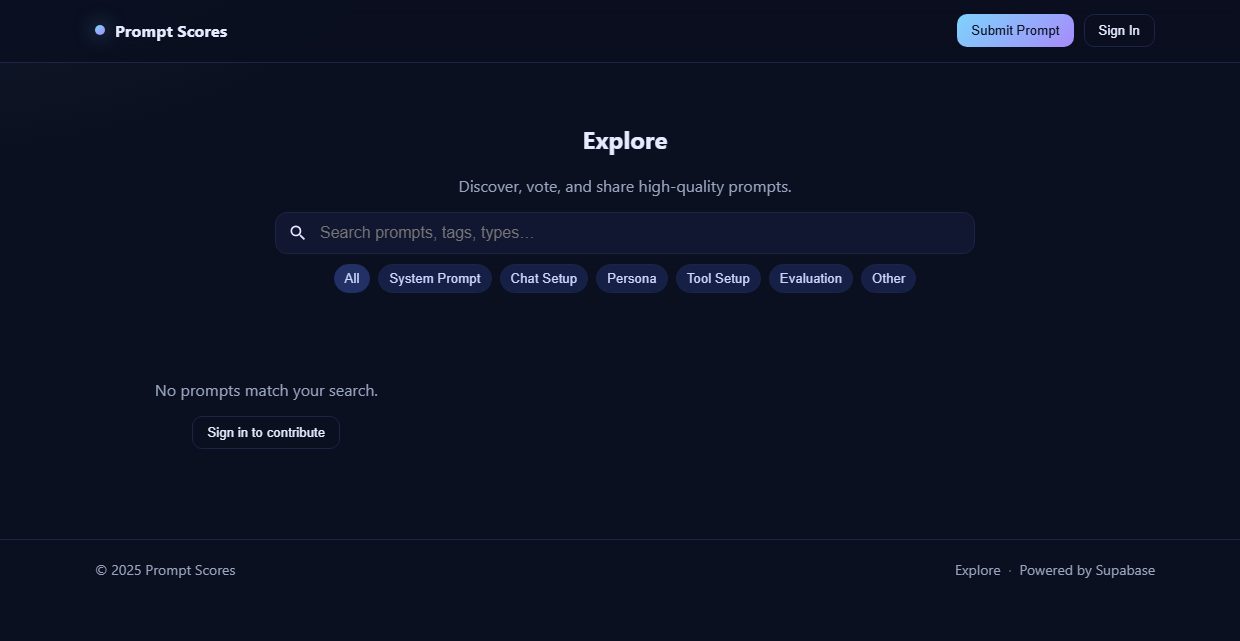
Here’s what I built with it. And here’s how it was done:
Getting started with Codex CLI
Codex CLI is a terminal tool, which means it may not be for less technical folks. However, its also a pretty advanced AI agent tool, so if you can get it up and running there’s a good chance you can find your through using it intuitively.
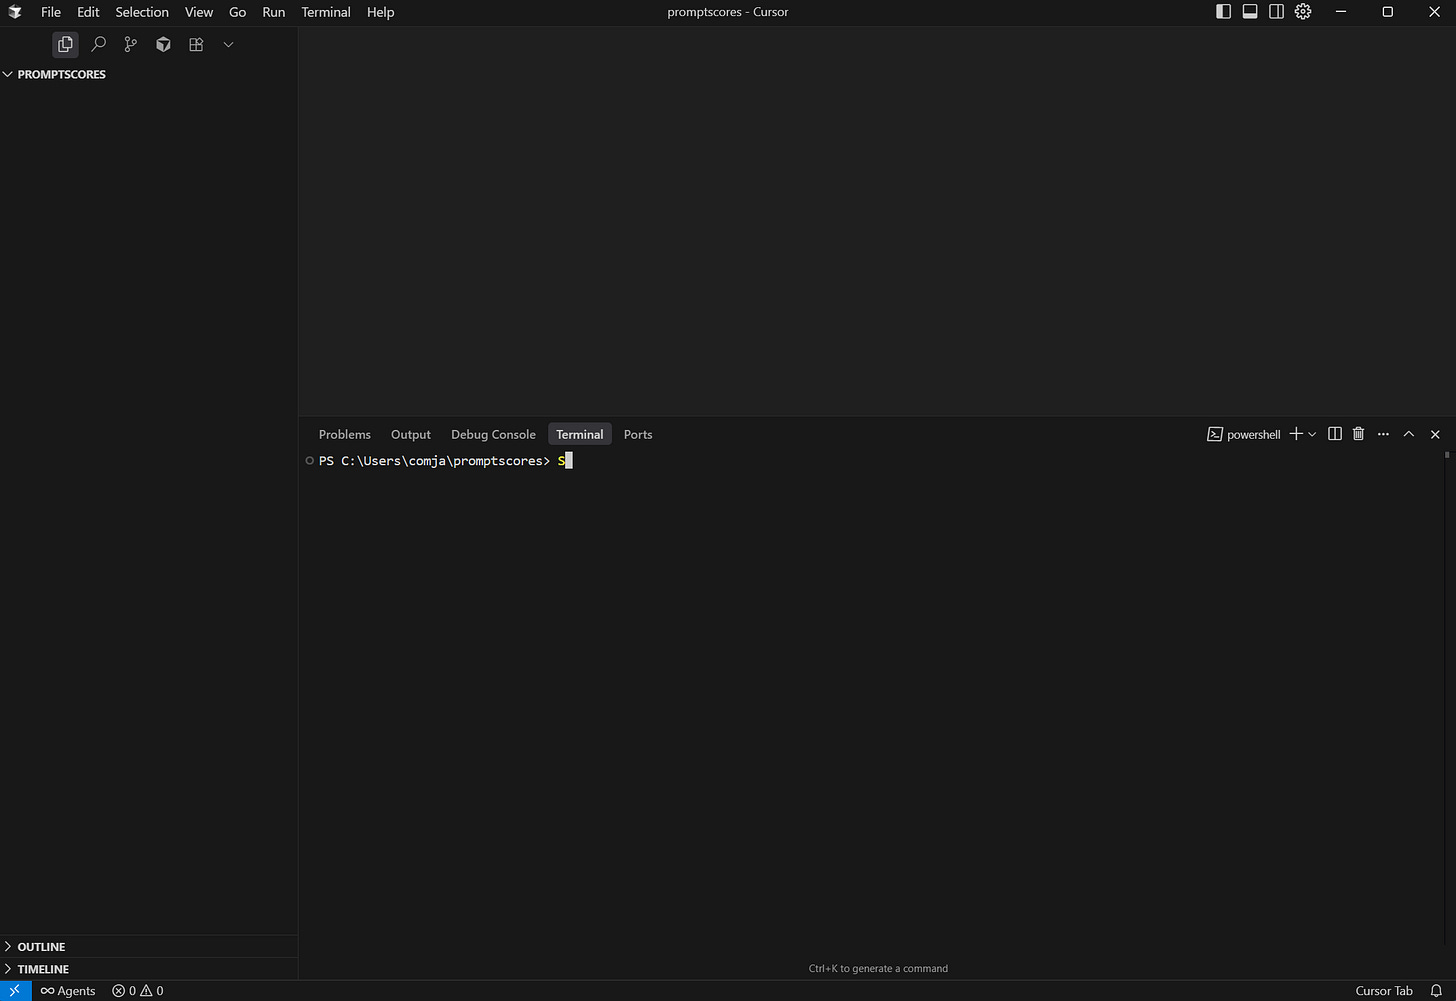
I’ll be using Cursor, but the beauty of a CLI tool allows you to use any IDE (or even just your terminal). Open up Cursor, start a new project, and open up a new terminal.
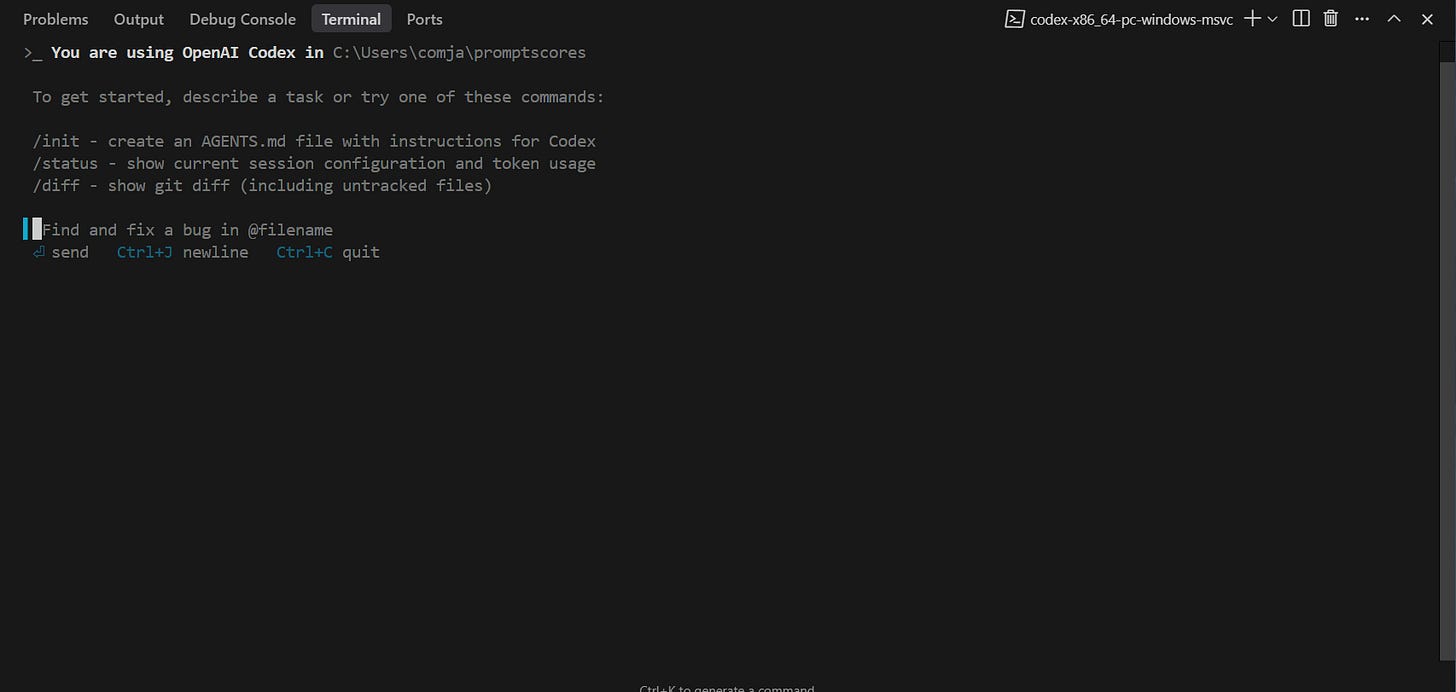
Type the following commands, in order. One will install the CLI tool, one will get you logged into your ChatGPT account (alternatively, you can just use an API key), and will start up the Codex agent with the GPT-5 model with high reasoning.
npm install -g @openai/codex
codex login
codex -m gpt-5 -c model_reasoning_effort="high"
Codex will ask you some questions around permissions. Answer those as you please and you’re ready to go.
Your first prompt
Your first prompt within Codex for a new project should be focused on providing as many specific requirements as possible. You should give the agent enough detail in your description of your project for it to be able to knock out 90% of the project without any issues. That remaining 10% is often where the majority of back-and-forth happens with your coding agent, so we want to make sure that we’ve got a strong foundation for that to take place. Here’s what I used:
Create me a simple React-based web app. This site will be hosted on Cloudflare, and user auth and databases should be hosted on Supabase. Requirements for this app:

1. It's called "Prompt Scores". Overall, the site design is minimal and attractive, with simple but eye-catching animations and smooth UI/UX that mimics other high-quality sites out there.
2. The home page ("Explore") is where most of the site functionality is. There should be a search bar, and then a grid of prompts that users can vote on. Each prompt has specific Type set by the person who submitted them (such as "System Prompt" or "Chat Setup").
3. The search bar should be simple but intelligent, able to pinpoint the types of prompts that the user is looking for without much noise.
4. There are user accounts, so set up a simple sign up and auth flow that uses Supabase. There should be an Account page where the user
5. The Account page should be persistently linked in upper right (logo in the upper left). Next to the Account link, there should be a button that says "Submit Prompt". When clicked, a dialogue box should open up that allows them to submit a prompt, name the prompt, and selected a prelisted "Type" (they can only select one). There should also be a field that allows them to set "tags" that they can put whatever in that will help with search.
6. On the explore page, logged in users should be able to thumbs up prompts that they like. They can remove thumbs up if needed.
7. Below the search bar on the Explore page, there should be an option to filter by Type. The prompt cards should start sorted by amount of votes they have (most to fewest).
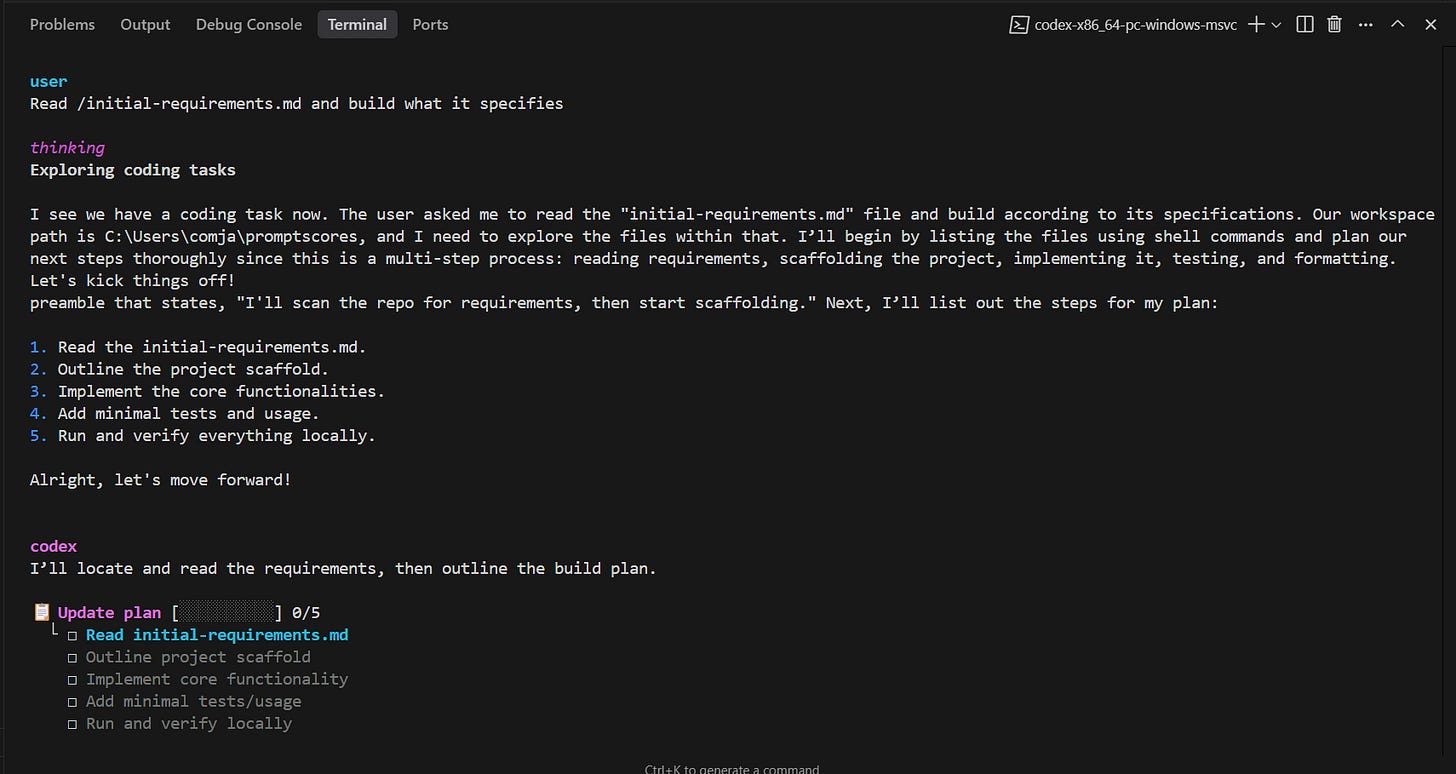
If your requirements are pretty bulky, consider putting them in a markdown file in your project directory. Then, point Codex to this file and watch the agent get to work.
Monitor and approve
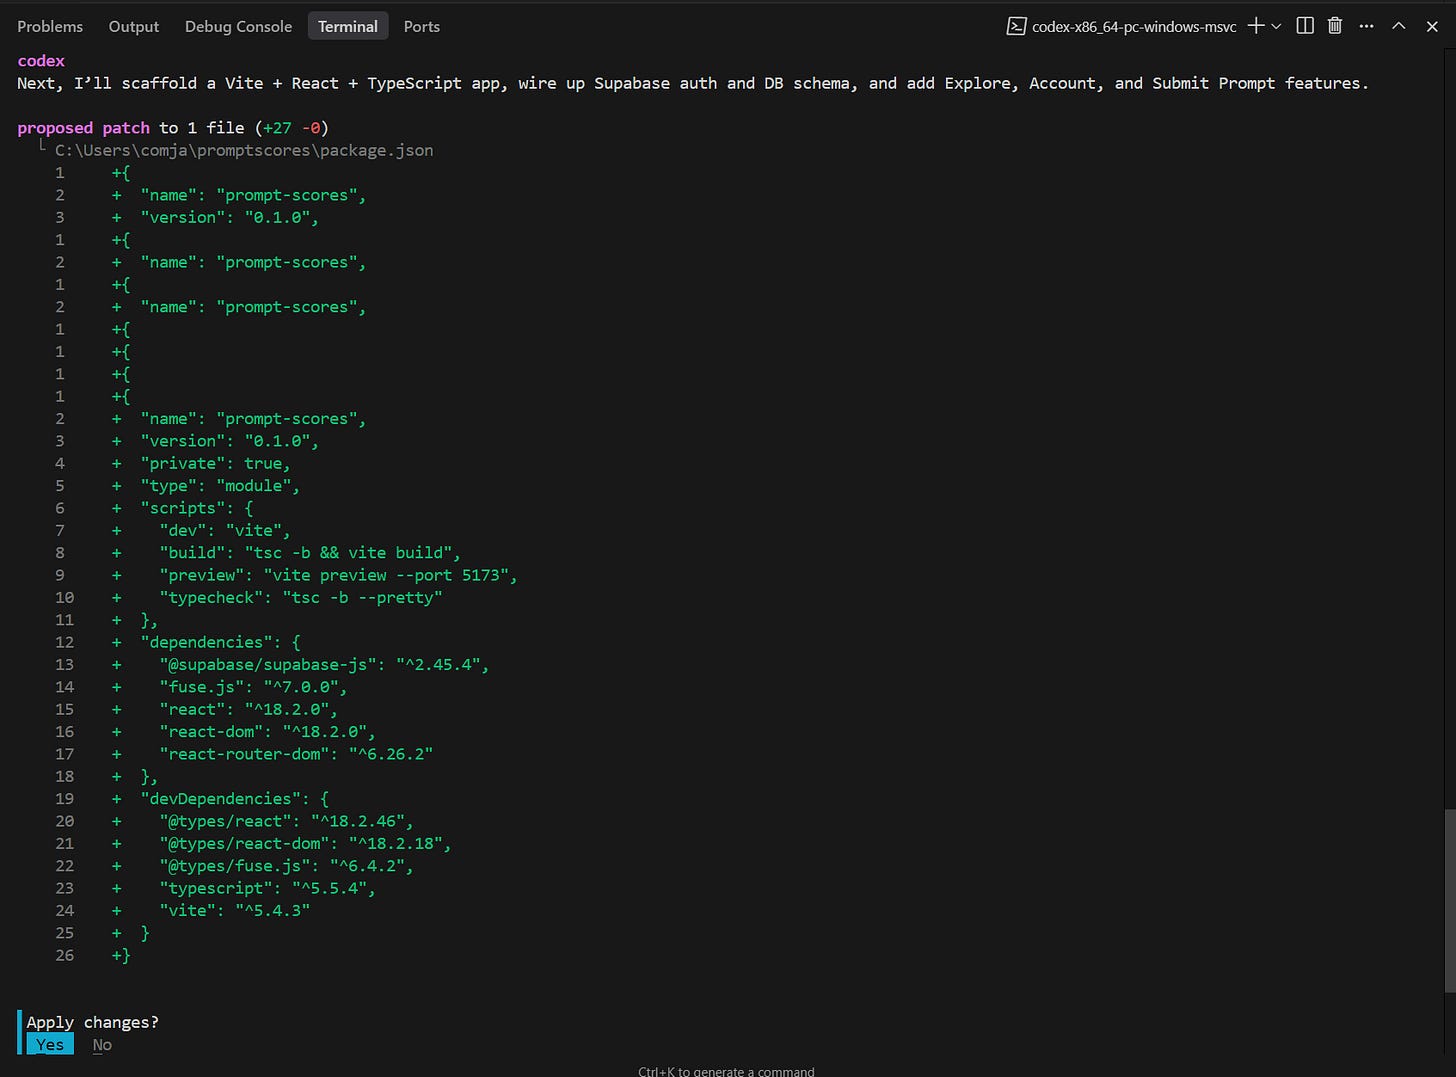
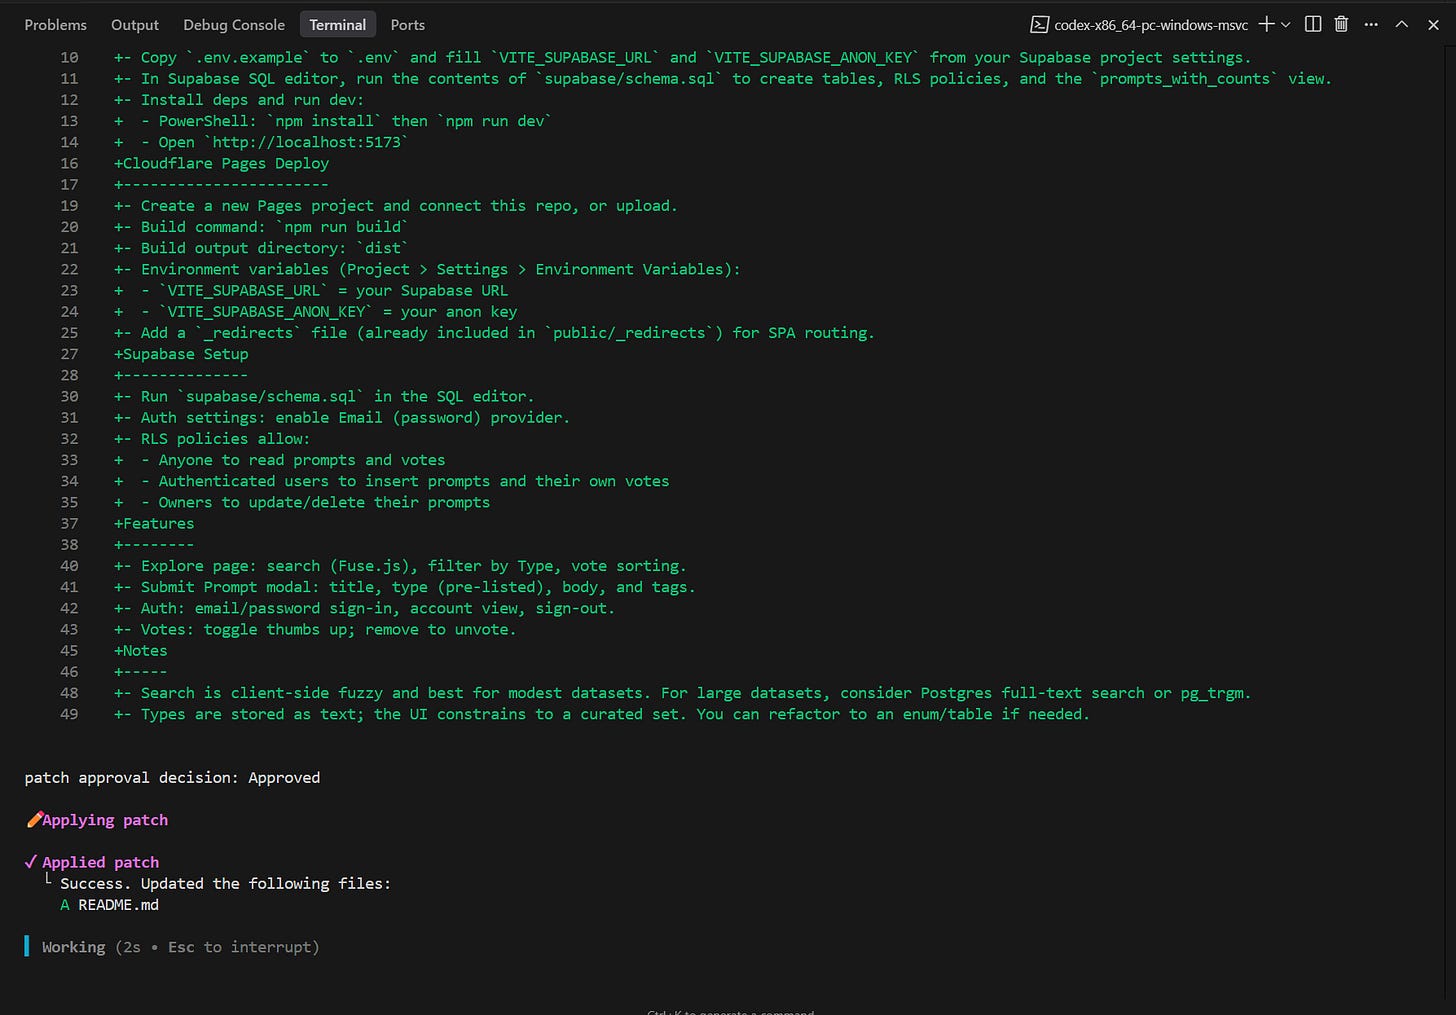
Codex will rapidly think through your plans and start building. Every now and then, you’ll get pinged for certain command and/or patch approvals. Approve these as needed, and watch the agent continue on building your new site.
Note: When you first boot up Codex, you can add the flag
--ask-for-approval neverto allow it to auto run everything and never request approval (But… don’t do this).
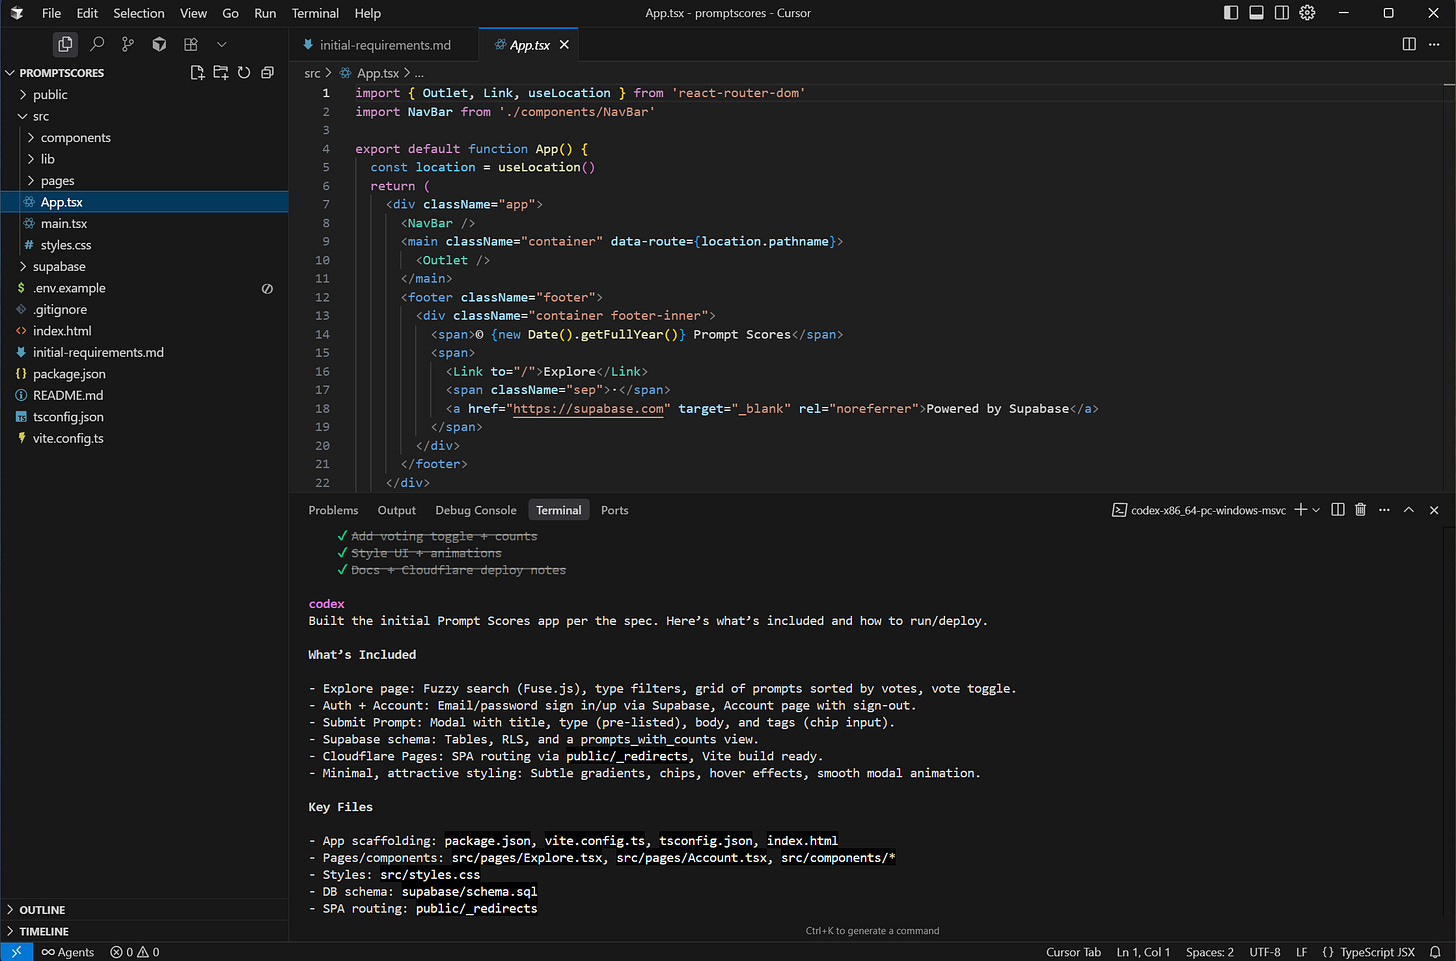
After 10 minutes or so of approvals (like a true middle manager), our base code is done!
Testing your new site locally
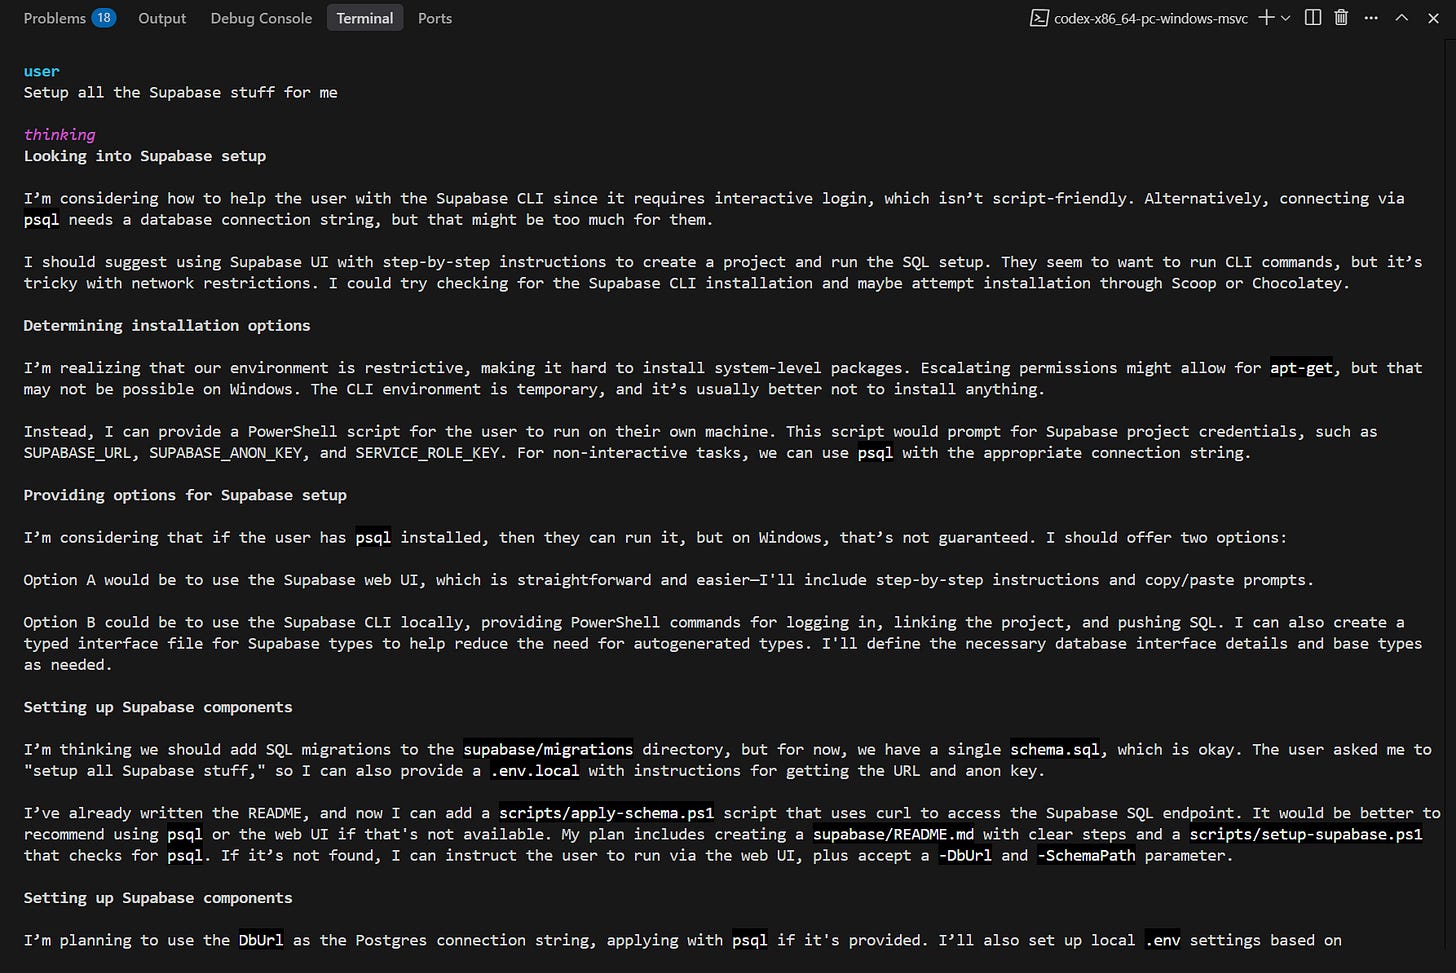
Once the app is fully set up, this is where a lot of other coding tools stop. Getting Cursor’s agent (or an external tool like ChatGPT) to help you get the app deployed on the web or get Supabase databases set up can be a challenge. However, with Codex being a terminal-based tool, its increased access to certain actions on our computer lets it help us do this directly.
Since we specified that we were hosting in Cloudflare and using Supabase for auth up front, the Codex agent likely automatically start these requests and reach out to you when stuff like logins and API keys are needed. If this doesn’t happen, just send a new message asserting your needs. The agent will ask you for your credentials when needed.
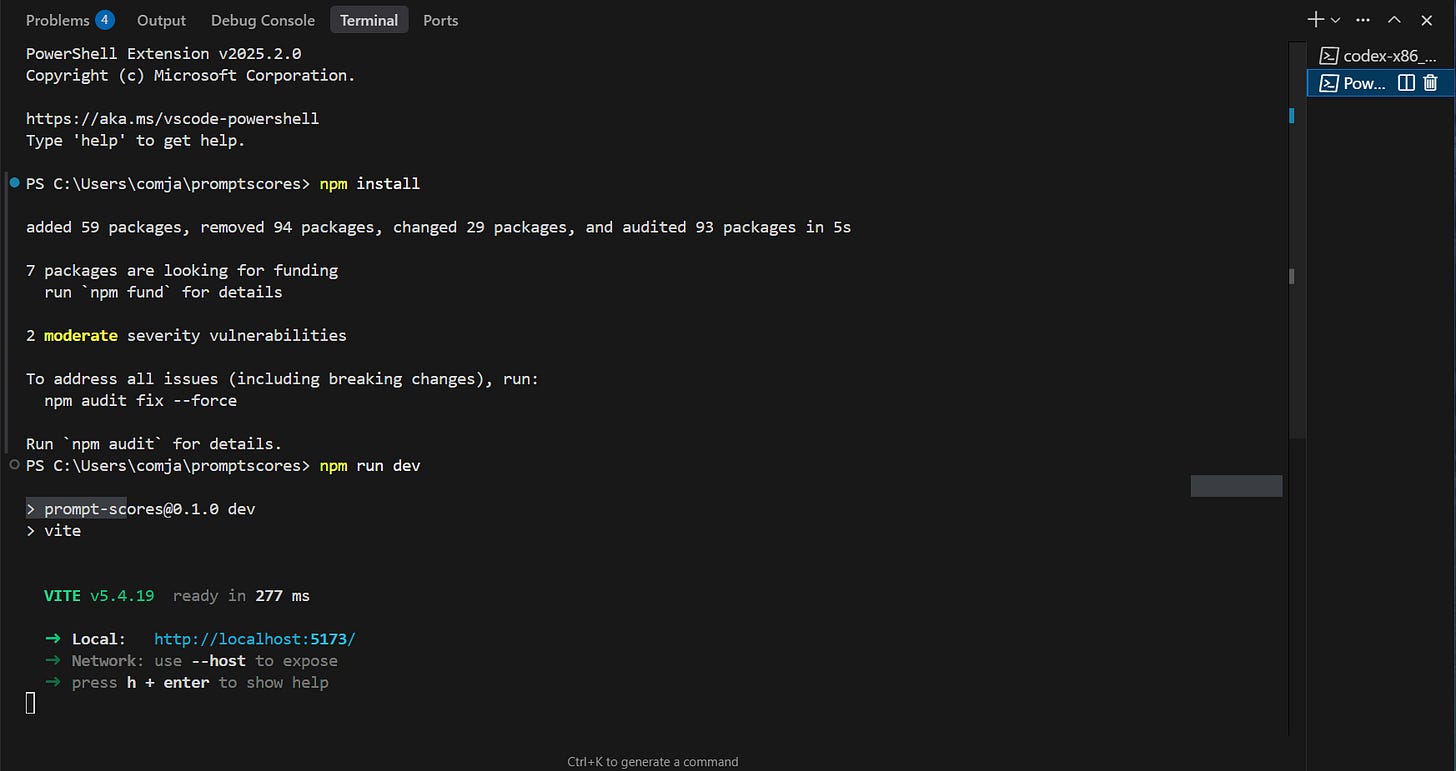
With Supabase all setup, we can now preview our app before moving to deploy it to Cloudflare so everyone on the web can use it. Run these commands:
npm install
npm run dev
These will get your site running locally (usually at localhost:3000). Boot up your browser and put your localhost address into the address bar, and you should see your site running in all its glory. If you’re getting lost here, just send a message to Codex to help guide you through all this step by step. The agent will be happy to oblige.
And, huzzah! Looks like we hit our 90% goal here.
Patching with Codex
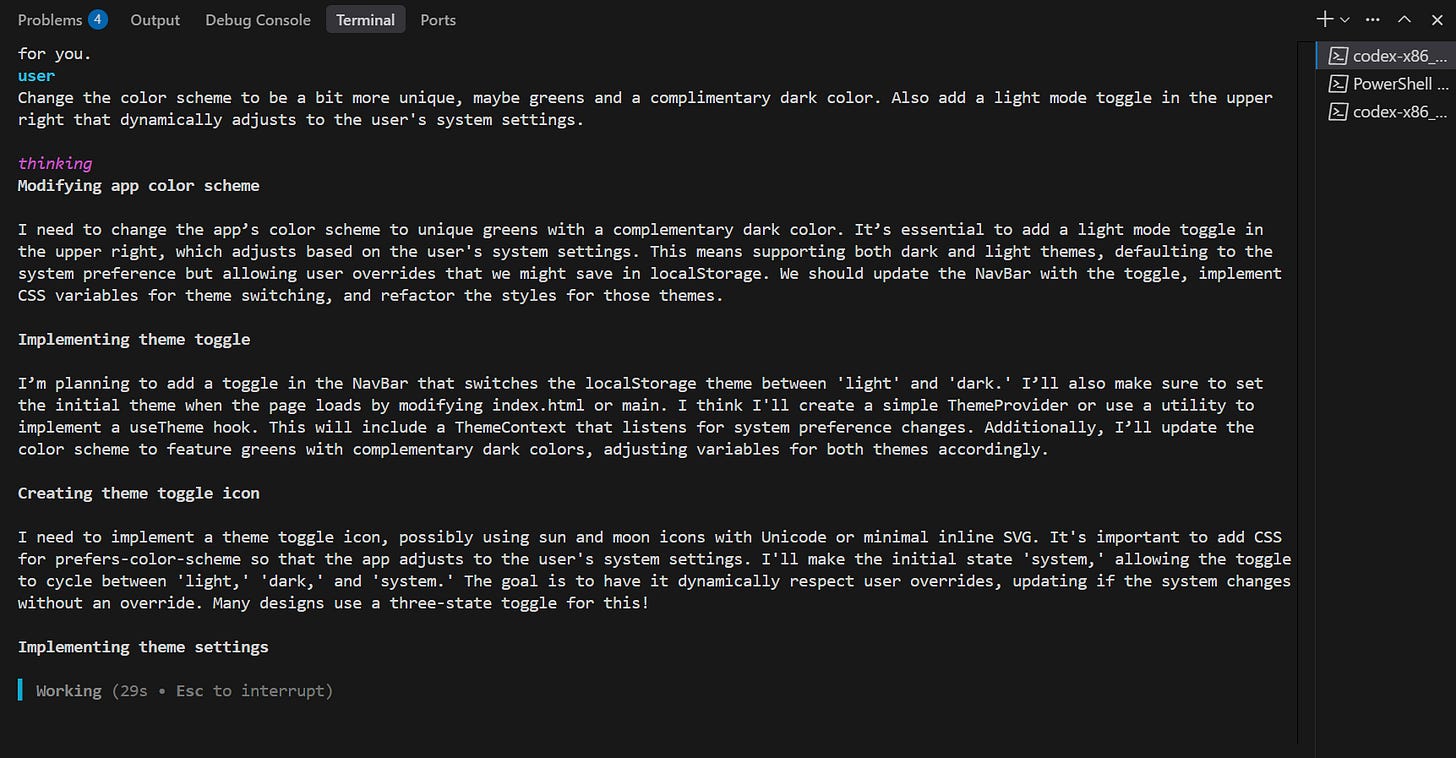
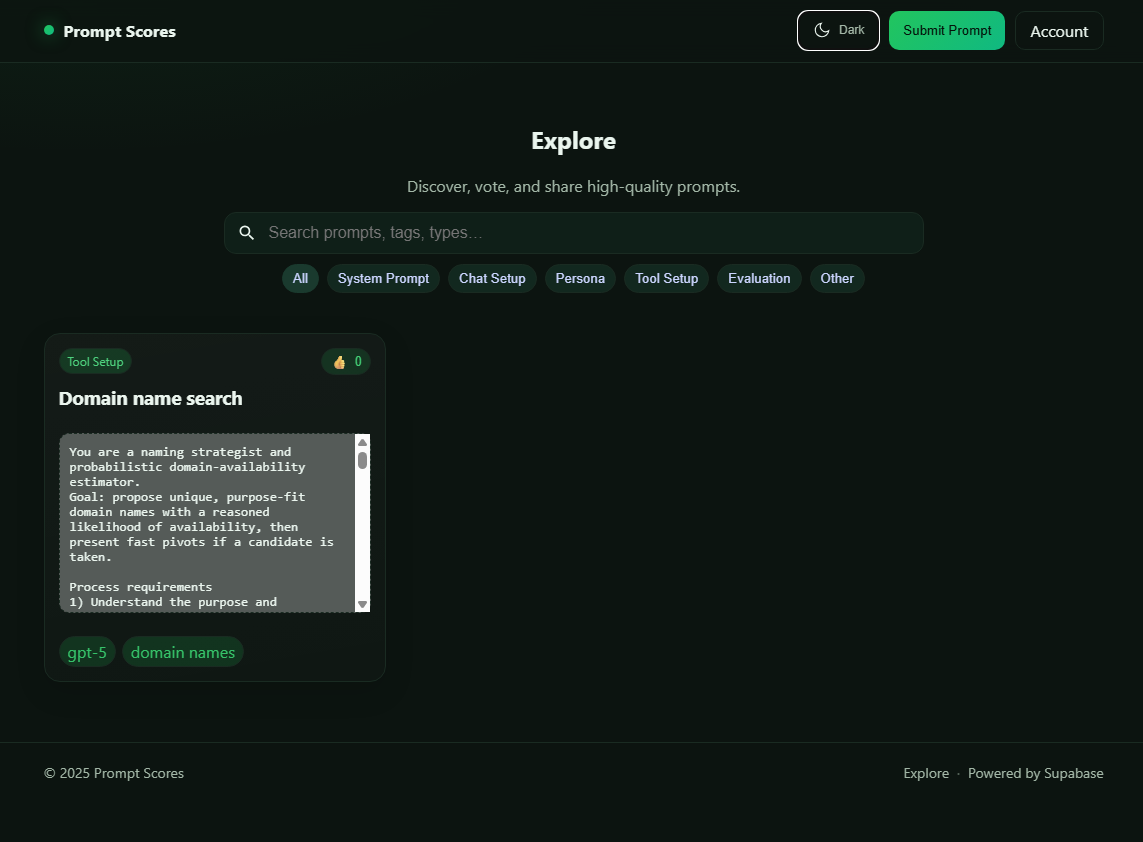
Now is the time to test your site locally before throwing it up on Cloudflare for the world to see. Off the bat, the color scheme screams “AI” to me, and I also would like there to be a light mode (that dynamically changes for the user when able). Let’s ask Codex to make these tweaks.
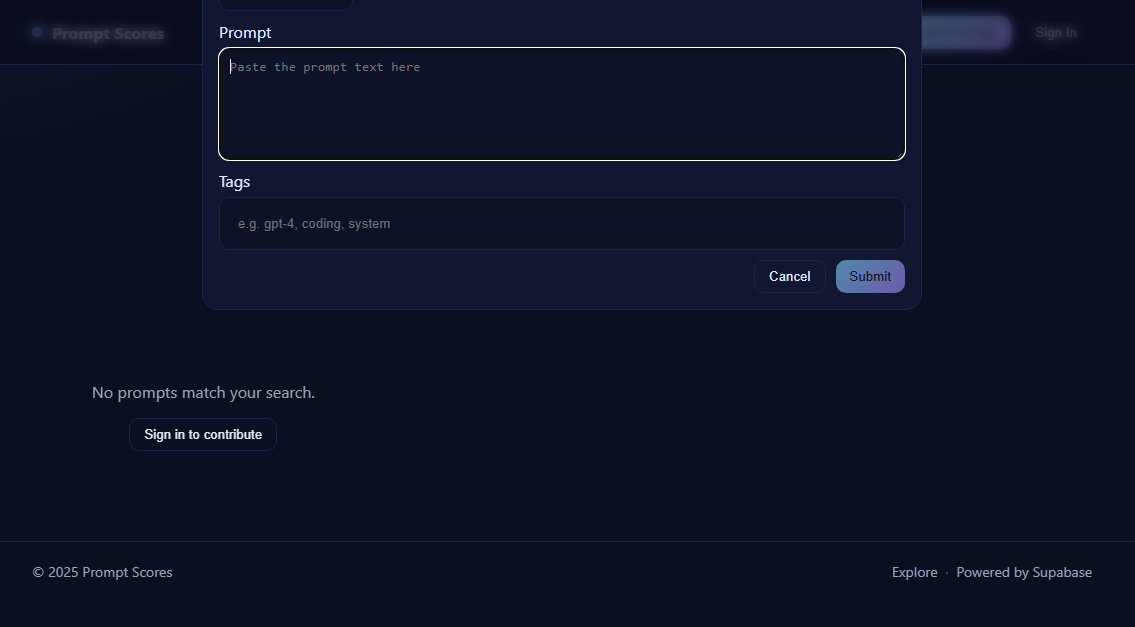
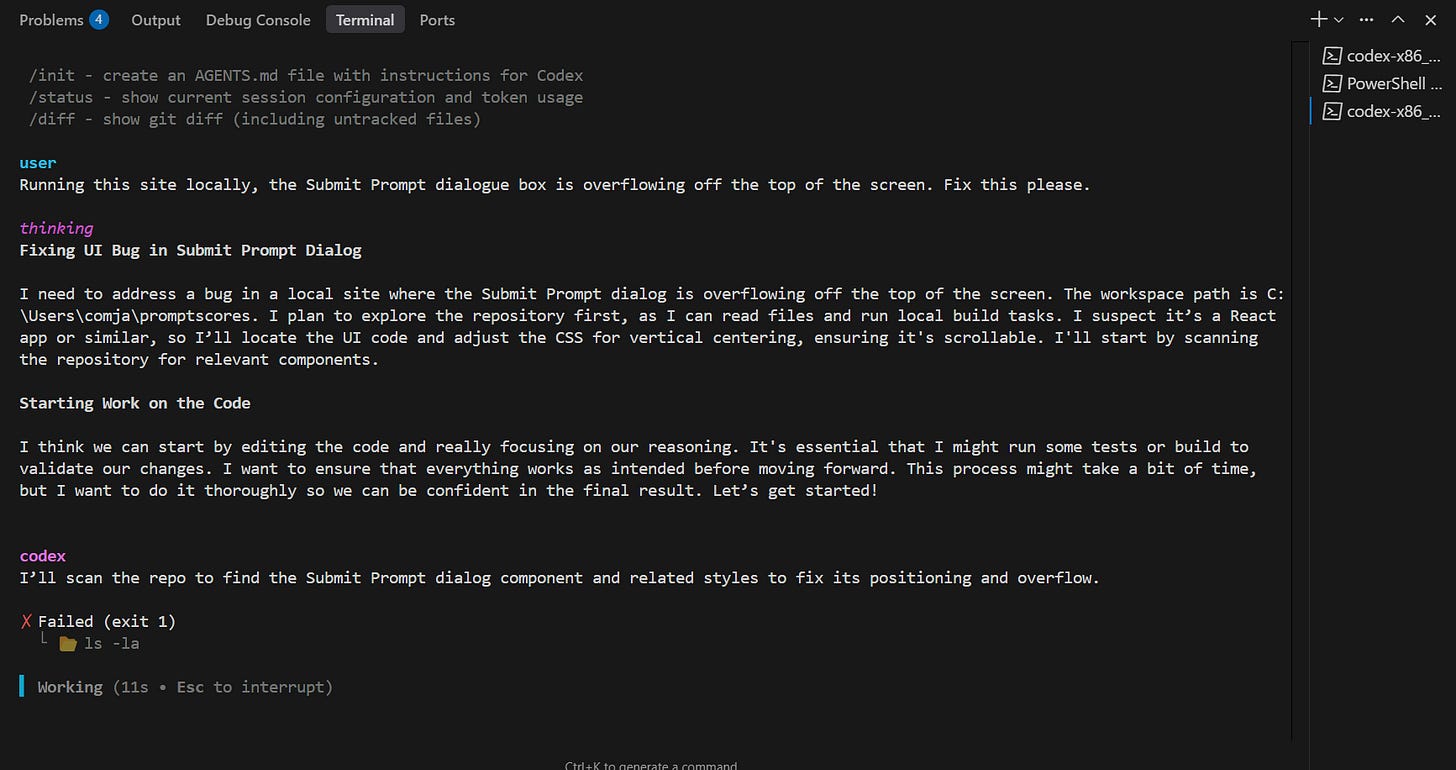
Much better. I also noticed when exploring my newly built site that the “Submit Prompt” dialogue box is going off screen.
Fixing bugs like this is simple. Let’s take this opportunity to start up a second Codex instance by opening up a second terminal and using our same command from earlier:
codex -m gpt-5 -c model_reasoning_effort="high"Our second Codex agent runs independently of the other (which we’ll save for helping with Cloudflare deployment), and we’ll use it to identify our problem and propose a fix.
After this I’ll make a few more tweaks (generate a transparent logo with ChatGPT while I’m at it), test the Supabase auth/database flow, and move onto deploying to a Cloudflare page. If I run into any issues or questions along the way, I jump back to my terminal to check with Codex.
Deploying the site
Getting the site hosted online can be done using a variety of services, such as Vercel, Cloudflare, or AWS Amplify. Just specify which platform you’ll be using early on with Codex and the code will be built to support it.
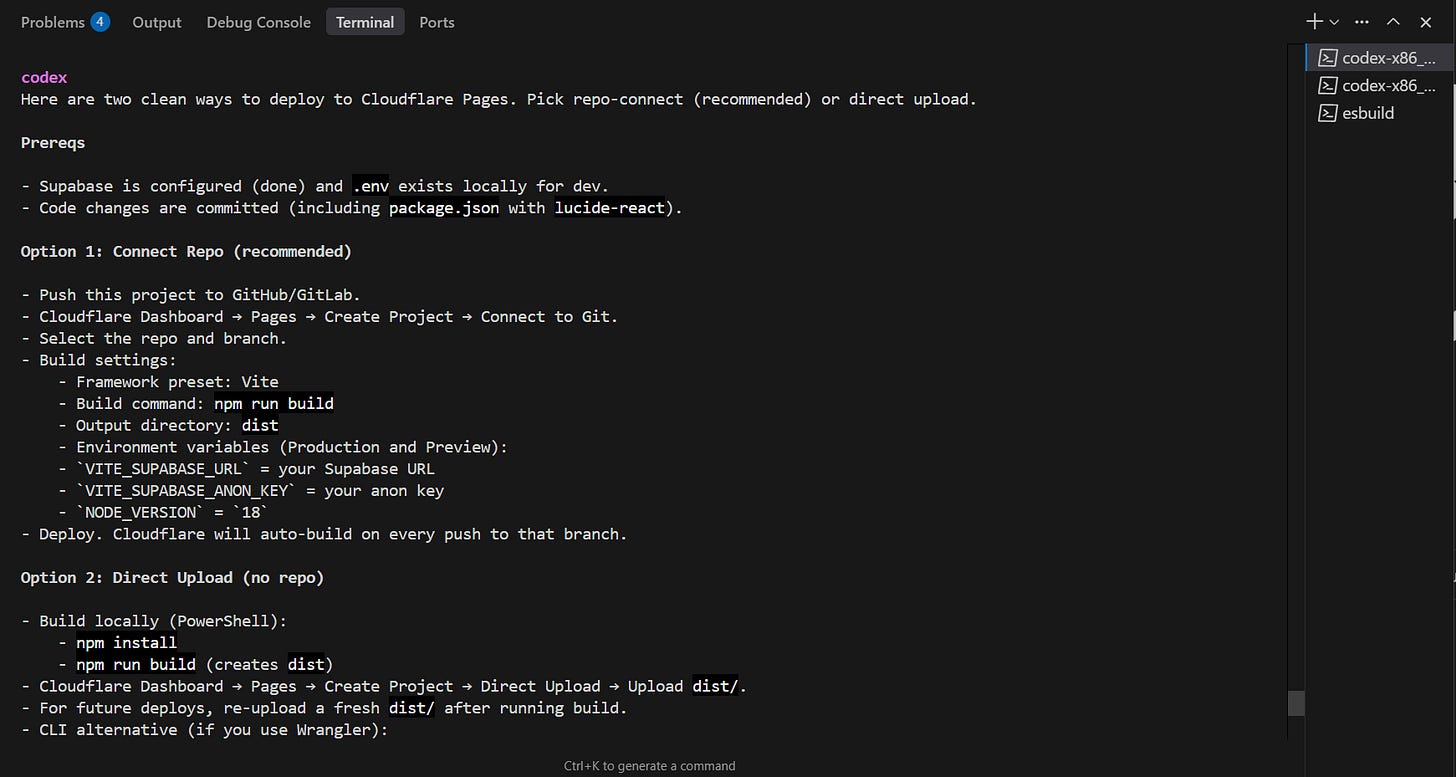
I’ll be deploying Prompt Scores to a Cloudflare Page, starting by asking Codex the best course of action to do this. If it’s able to do it within the terminal, it will; otherwise it will give me a step-by-step guide to do it on Cloudflare’s web dashboard. If you run into any errors during deployment, check with Codex.
After following its instructions, it’s live! You can check out the full site here (submit and vote on some prompts!). I’ve also made the full repo public on Github over here.
Codex CLI, Claude Code, and the like are all terminal-based tools that can help you build simple sites, or can function as multiple-purpose agents performing various actions (debugging, quick edits, documentation) on your existing massive repos. The quickest way to learn is to jump in and start experimenting. Get going!


